Creating in 2014-April

creatingin2014

As you may remember, I set a little project goal for myself this year called Creating in 2014 because I want to get my creative juices flowing again. My hopes for the project is that I spend more time being creative and that I end up with 12 awesome handmade projects, whether they’re big or small.

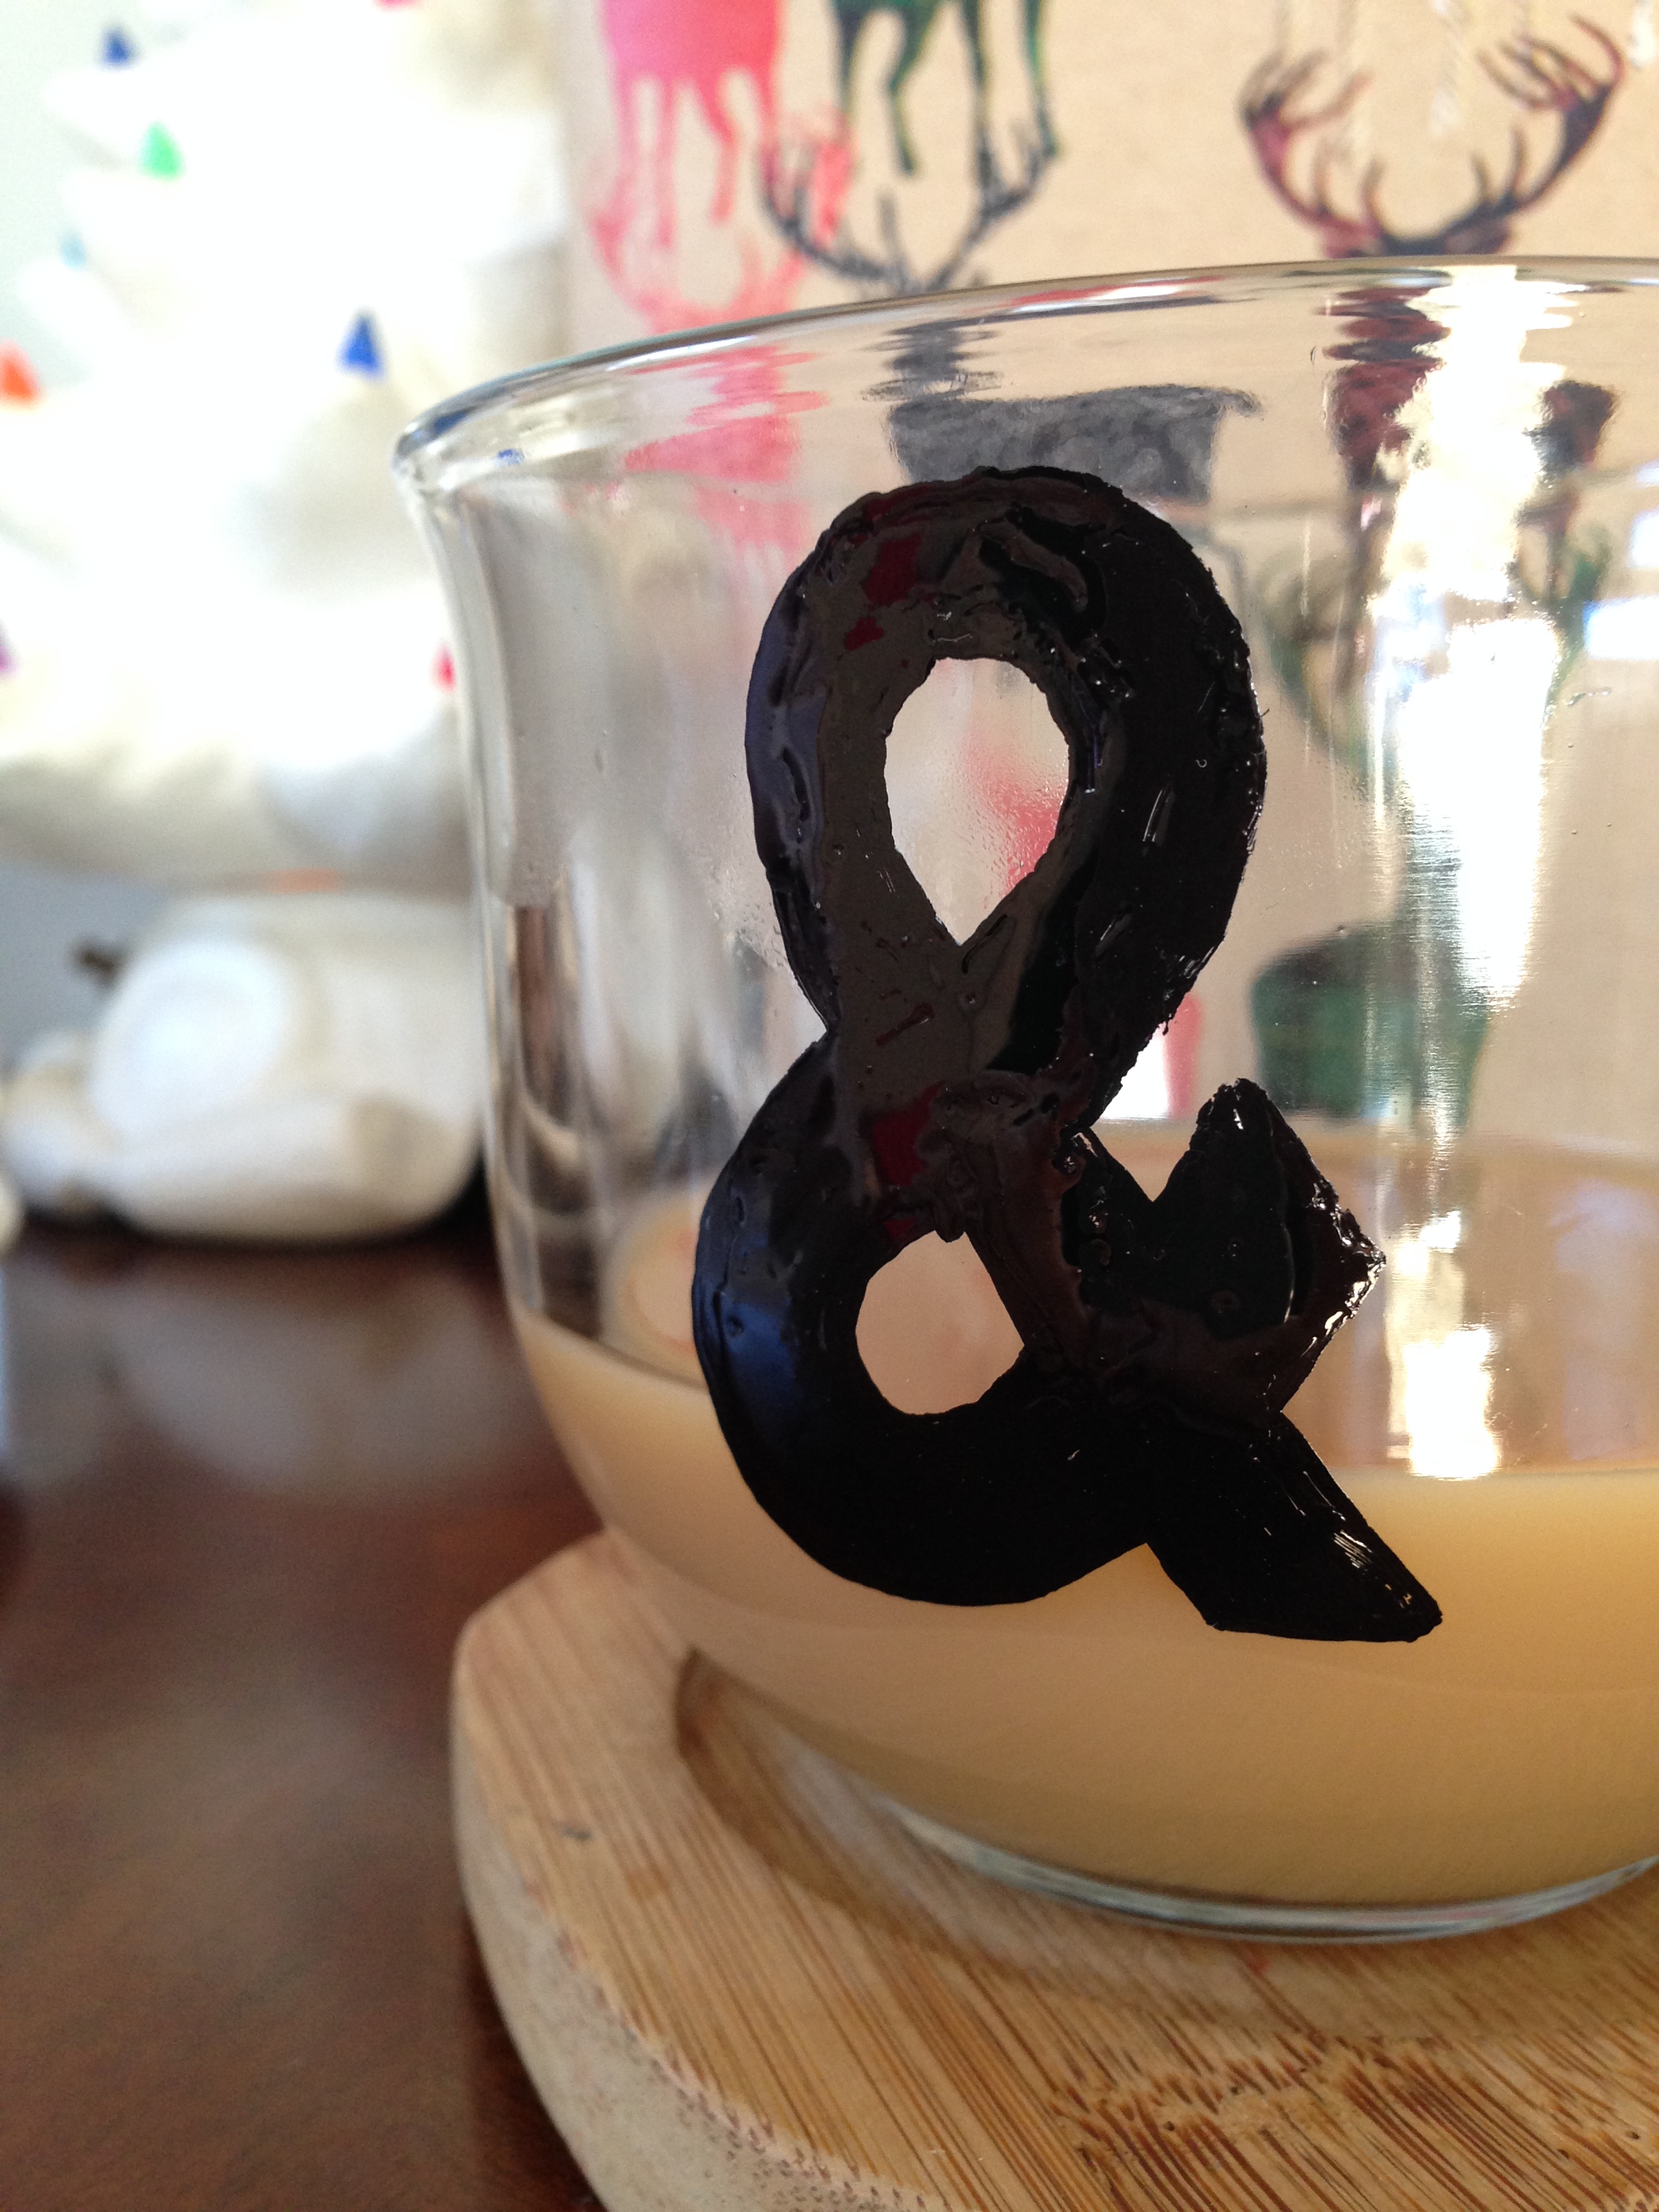
April’s project is not my own original project. It’s a copied project from the girls at Eighteen25. It’s their Pickle Jar Project and I have been in love with this project since the day I first saw them. It’s been on my Pinterest board forever and I still loved the idea when I came across the pin recently. I mean, you know how sometimes you pin something thinking that it’s really cute or awesome, but then later when you’re going back through your boards for inspiration, you see it and think “why did I pin this?”. Well, this was totally not one of those pins for me and it was time I stopped coveting theirs and make my own. I’m so glad I did! Here is my version of their adorable pickle jars.

DSC_0571

Mine are obviously very similar, except I only made two and I used the same candle sticks as my bases.DSC_0577

Aren’t they just so cute?! They are definitely cuter when they’re filled with pretty candy.DSC_0587 copy

This was a very simple and inexpensive project. You can find the tutorial over at Eighteen25.

These are not something I will leave out all the time. I plan to pull them out for the holidays and fill them with candy colored to coordinate with whatever holiday is approaching. I can’t wait to use them over and over again. They are a fun addition to my holiday decor!

Frame Gallery Wall

DSC_0510

I’ve mentioned a few times that we hung a frame gallery around our tv and entertainment stand. I collected both black and white frames, laid out the arrangement on my floor, traced the frames onto wrapping paper, cut them out and then taped them to the wall how I wanted them. And after some measuring and adjusting, we finally got it the way we wanted it.

I’m really happy with it, although I will say that I’m not 100% in love with the large black rectangle directly above the large black rectangle. I didn’t really think that one through before hanging everything. And it actually didn’t even occur to me until after a few days of living with and staring at the arrangement.

We have very high ceilings in our living room and we needed something to take the focus off of the tv and draw the eye up. We also needed something that would fill in that massive wall a bit. It always felt way too bare before. Here was our process. Please excuse the crappy photos and my hubby’s hat hair.

IMG_1120 IMG_1126 IMG_1131

I think it definitely serves it purpose of distracting focus from the tv and filling blank wall space, plus I love having some of our favorite photos, prints and kids artwork where I can see them all the time. Oh, and I want to mention that it is really difficult to photograph. We live in a split-level house and I can’t get back far enough to take a decent photo of the entire wall because of the steps, but I assure you that it is all centered even though the photos look otherwise.

It’s finished for now, but I would say that overall it’s a work in progress. We are in the market for a new tv stand (I’ve been stalking Craigslist), so that will affect it eventually, but I would also like to add  some smaller frames at some point and maybe change out the big frame in the center to eliminate the whole big black rectangle situation.

DSC_0508 DSC_0514 DSC_0515 DSC_0516 DSC_0518 DSC_0519 DSC_0520 DSC_0524 DSC_0525 DSC_0529

So there you have it. Our little frame gallery wall. Lots of fun!

Have a great weekend and thanks for stopping by!

**Frames are from IKEA, Michael’s and Gordmans.**

Ten Projects-Project #10

Wow, am I glad it’s Friday?! It’s been a very long week around here. I was sick pretty much all week. Blah.

I didn’t cook a single meal.

I didn’t work on a single project.

I didn’t clean the house.

I didn’t run.

I hardly blogged.

I only got dressed to take Hudson to school.

I’m so happy to be feeling better today and thought I would finally share with you my tenth project from the 10 Projects before Christmas challenge.This post is long overdue. I actually did finished this before Christmas as it was a gift to my sister, but I completely forgot to take photos of them, so I had to have her send me some earlier this week.

Project #10

photo (5) photo (6)


I found a few different tutorials for these tile coasters on Pinterest (just search “tile coasters”) and thought they were really cute. I used some of her Instagram photos and just followed the tutorials using Mod Podge and Dimensional Magic. They turned out pretty cute. I think I’ll probably end up making some for myself too.

Overall Thoughts on 10 Projects

* It was a fun challenge.

* It was the prefect amount of projects in the amount of time.

* It pushed me to finish projects that were taking way to long.

* It allowed me to use some products I’ve never used before.

* I loved that I did it right before Christmas so that I ended up making some handmade gifts (something I always say I want to do, but never get around to actually doing).

* Some of the projects took longer than projected, so I ended up making some quicker projects in the end just to meet my goal. That’s not really a bad thing, but I had some other projects that I didn’t get to because I knew I didn’t have the time.

Conclusion: Challenges are a great way to motivate myself. I definitely plan to do the same thing at least one time this year.

Have a great weekend!


Ten Projects-Project #6

I finally got around to making my sixth project yesterday. This one was super easy and cheap!

photo (34)

My inspiration for this project came from Pinterest, of course. There are a ton of different tutorials and design ideas on there.

I bought two clear glass coffee mugs at The Dollar Tree over a month ago because I loved their shape. I originally wanted to use white mugs, but I didn’t like the ones they had. I planned to paint my mugs, either to keep for myself or to give as a gift.

I used a black Sharpie paint pen and drew (freehand) an ampersand onto the mug. The Sharpie website said it works on glass and it would be water-resistant. After letting it dry overnight, I hand washed it with soap and water this morning and it was fine. I think I’ll stick to hand washing instead of the dishwasher, just in case.

I really like how it turned out, although I wish it wasn’t so glossy. It looks a little too much like puffy paint in the photos. I ran out of paint before I could make the second mug, so I think I will look for a metallic gold paint pen for the next one. I think gold would be so awesome! I’ll either do another ampersand or buy another mug and paint the words “me” on one and “you” on the other.

photo (33) photo (35)


This is a very inexpensive gift idea. It would be great for a coffee or tea lover!

Total cost for me was $1.00 because I already had the paint pen. If you buy the pen I think it costs around $6-$7, but you could use a Michael’s or JoAnn coupon and get it for less.

Cheers!

Ten Projects-Project #5

I’m SO excited to share this project with you today!! This has been two years in the  making. It’s our advent calendar and I’m in love!

IMG_0043

I made the envelopes two years ago (and displayed them in a apothecary jar) and decided last year that I wanted a wooden tree to hang them on, but we never got around to making it. We bought the wood, cut the trunk piece and I painted it white, but that’s as far as I got.

But it’s finally finished and in time for the holiday season no less!

It was actually really easy to make, so I’m not sure why it took so long. It’s my new favorite holiday decoration.

IMG_0036

IMG_0037 IMG_0041 IMG_0044 IMG_0045 IMG_0046 IMG_0047 IMG_0048 IMG_0049 IMG_0050

IMG_0038 IMG_0039

IMG_0034

The photos don’t to it justice! The little envelopes are so cute. I made them with one piece of scrapbook paper that I got at Archiver’s. I cut it up and added some baker’s twine.

I think the tree idea is perfect. If, or should I say when I get tired of the envelopes, I can always add something different to the tree for the calendar such as small boxes, cute little bags, etc.

This was one of the big projects and boy am I glad to cross this off the list! Do you do an advent calendar? We have activities on all the inserts and the kids just love finding out what each day holds.

Tomorrow I’ll post a list of all our activities and show you how we made our cards this year.

Linked up here:

Tatertots and Jello

The Idea Room

Ten Projects-Project #2

photo (19)

I fell in love with this project from http://www.ellaclaireinspired.com after a friend sent me the pin on Pinterest.

DSC_0230

You can find the original by clicking here.

As you already know, I love, love, love fall and this sign sums it up perfectly. After I pinned it to my holiday inspiration board, I quickly went to check out the website and discovered that she posted a template for the words! So awesome!

This is my version of her project. I pretty much duplicated what she had done. I mean, it’s so cute how could I possibly make it any better?! I used my own colors of course and mine isn’t nearly as fancy or as cute, but I’m super satisfied with the outcome! Plus, it turned out to be completely free. I used an old junkie piece of plywood and paint that I had on hand.

I haven’t decided on a place to display it yet, hence the photos taken out in the leaves. But as soon as our living room is pulled back together after the painting is completed, I’m sure I’ll find just the right spot!

photo (18)

photo (19) photo (20)

photo (18)-001

Project #2 is complete. I’m still working on the other project and have another planned for this weekend. Yay! I love handmade projects!

A Project Preview

I’m sorry that my posts have been so sporadic! I started my the first of my Ten Projects and the project I’m working on is taking much longer than anticipated! It’s waaaaay more work than I was expecting. But I am loving the outcome and know that all the work will prove to be totally worth it! I have to work on it some more today and then can hopefully finish tomorrow. I hope anyway, because my neck, back and hands are getting a little sore!

Here is a sneak peek.

IMG_8838


Oh my gosh, I’m in love with this project! Okay, I’m off to work on it some more…

10 Projects

Now that September and the start of Fall are just around the corner, I’m in full season and holiday project mode. I have about a million project ideas pinned on Pinterest that I would like make and I can’t wait to get started. However, it seems that every year I have a ton of plans and I never seem to follow through with many of them, if any at all, so this year I figured the best way to get my creativity in gear would be to set a goal.

My challenge beginning on September 1st, is to create ten craft or diy projects before Christmas.

Why ten projects you ask? Well, I think ten is an amount I can accomplish without feeling overwhelmed. I didn’t want to pick a number that felt impossible to finish (goodness knows I have enough ideas swirling around in my head to keep me crafting until I’m 60, but I wanted to be realistic). Five projects felt like too few and fifteen projects felt like too many, but if I make more than ten, great.

Not all the projects will be season or holiday themed either. I have a few easy home decor projects that I’d like to make too.

I’m so excited to start my little challenge. I love to set goals for myself to keep me on track. Everyone already knows I love a good list and being able to see my progress by crossing things off of it.

The fun is about to begin and I need to get going on some prep work!

Here is just one project that I’m thinking about.

wreath

image source

Happy Monday!

Kitchen Counter Makeover

Last week I mentioned how I had a ton of projects to tackle and I was planning on taking some time this past weekend to get some of them done? Well, I crossed a big one off of our to-do list. I painted our kitchen counters!

I took some better photos with my big camera of the before, but finished too late to take any good after photos, so I thought I would just share with you a little Before & After comparison taken with my iPhone.

Before

I took this photo without the kitchen light on, so in the next shot the cabinets look a lot more yellow than they do here.

The counters were original from the 1960’s. This photo doesn’t do them justice as far as how ugly they were and how bad of shape they were in. Trust me. UGLY.

2013-07-28 14.08.32

After

It’s definitely a vast improvement, but the gray of the cabinets doesn’t look as fantastic with the gray of the counters like I hoped. We ended up picking the darkest gray that they had, but it didn’t turn out as dark as I hoped either.  It was really hard to match colors because we couldn’t get a sample of the counter paint before hand. However, anything was an improvement over what we had.

2013-07-28 17.14.42

We used Rustoleum countertop paint and it wasn’t the greatest to work with. For starters, it smells really, really bad. I mean I had to wear a mask and it was still overwhelming. We had every door and window open. Thank goodness it was such a beautiful day. Oh, and don’t worry, the kids were playing outside or down in the basement all day. No way, I would let them inhale those fumes!

I cleaned the counters just like they suggest and used a foam rollers as recommended, but you can still see rollers lines and there are a significant amount of tiny air bubbles. You can’t see either unless the sun is shining directly on the counters, so that’s good, but I wish the application was a little better.

It only took a couple of hours to apply and then Rustoleum suggests waiting 72 hours before using the counters. So that means our kitchen table is a huge mess for the next couple days. And I’m a neat freak so it’s killing me.

The cost for the paint was only $20, so even if we decide we want something else down the road, it’s not a big loss, and I think it was totally worth trying.

So, that’s just one project checked off my giant, never-ending to-do list. Now I’m off to edit photos from a weekend session.

See you tomorrow!

All About Them-Water Blob

Since I have two little kiddos and I’m a stay-at-home mom, I decided to incorporate some of the activities that the kids and I do together into the blog. Most of these ideas will more often than not be pins from my  Hudson & Harper Pinterest board.  Sidenote: If you are interested in following any of my Pinterest boards, you can find me under Tashia Doyle or tjdoyle811.

Anyway, I love finding activities to keep the kids entertained. I’m always on the lookout for new ideas. Last summer I came across what I thought looked like the most awesome activity ever! It’s called a water blob and it’s all over Pinterest now. I put it on our fun list last year, but we never got around to it. I knew it would be a must-do on our list this summer, so we bought the supplies and did it this past weekend while up at my parents house. The kids seriously loved it so much. They were having so much fun that it was almost as much fun just to watch them.

Like I said, I found the idea on Pinterest, but the post can be found here. I also checked out a few other blogs on the topic. If you’re interested, just type water blob into the search box on Pinterest.

DSC_0079


We used a 3.5 Mil roll of plastic sheeting and a  roll of duct tape. We also added blue food coloring which didn’t last long in the hot sun. The total cost for the blob was around $15.00. The plastic sheeting was $9.99 and we bought a new roll of duct tape because ours was old and gross, so that cost $6.99. We still have some leftover.

The water blob lasted all day and only seeped water slightly at the seams in between the strips of tape, but it wasn’t enough to notice a difference. Jeremy even put three strips along every edge.

We sprayed water on the top so the kids could slide and splash around. They were both running and bouncing on it and it stayed in tact. The only tear it got was when Jeremy tried moving it after he started filling it with water, so don’t do that! He was able to fix it with duct tape though.

I would recommend this to everyone to try at least once. I know it’s something we’ll do over and over. It was totally worth the money!

DSC_0099 DSC_0105


This is my favorite shot! I caught her in the air!

DSC_0112 DSC_0121 DSC_0128 DSC_0155


Here’s an aerial view. I think the size ended up being 12.5×10 after folding it in half to tape it. It seemed like the perfect size for the two kids. We gave the them soft toys to play with on it. Nothing that was hard or had pointy edges. But they mostly jumped, rolled and chased the giant air bubbles trapped inside.

DSC_0181


Jeremy and I even got in on the fun, sort of. We walked and sat on it…if that constitutes as fun.

DSC_0187

2013-07-06 16.32.30-2

Totally. Love. This. And these two cutie pies.

2013-07-06 16.45.02


After this, we were able to cross two big activities off of our Summer Family Fun List; visiting Grandma and Grandpa and the Water Blob. What an awesome weekend we had!