Valentine Garland

photo (7)

(Sorry about the dark photos. The weather was pretty dark and cloudy yesterday.)

Yesterday I made a super simple Valentine garland out of glittery foam hearts that I bought at the Dollar Tree.

All I did was sew the hearts together with white thread and hung it up! So easy! And it only cost $1. How is that for thrifty?!

IMG_1184 IMG_1191 IMG_1192 IMG_1197 IMG_1198

I had one small heart leftover, so I put it in a frame with some silver chipboard letters from Target.

IMG_1199

The package of hearts also came with 30 pink ones, but I’m not sure if I’ll use them or not yet. They might be a little too pink for my taste.

I hung it up on our gallery wall, which I’m planning to post about next week sometime. I have to order some photos for the frames, so I’ll wait to post about it until it’s all finished.

But for now I’m happy to have some simple Valentine decorations made and displayed for the holiday.

Do you decorate for Valentine’s day? I don’t think I would, but the kids love it, so it’s all for them!

Linking up here:

http://whipperberry.com

http://www.theidearoom.net

http://www.thirtyhandmadedays.com

Advent Activities

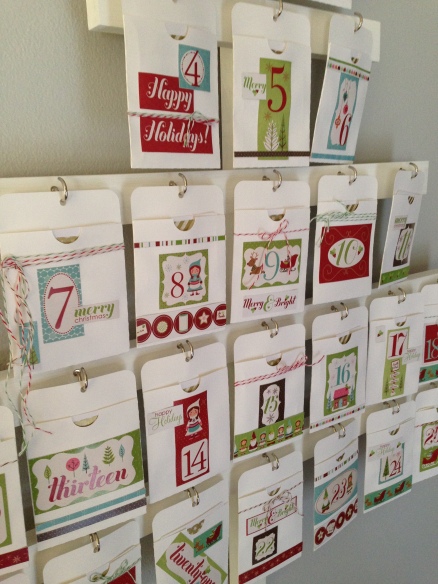
We have an activity for each day of the month until the 25th. Some of them we repeat a few times, but most are different. Here is a list of our advent calendar activities in no particular order.

IMG_0038

Christmas Pillow

Letters to Santa

Special Surprise (I include this one a few times and they’re all very small gifts such as stickers, socks, treats, etc.)

Build Gingerbread Houses

Picnic By the Christmas Tree

Random Acts of Kindness

Visit Santa

Frozen Hot Chocolate

Bake Christmas Cookies

Christmas Movie Marathon

Make a Holiday Craft

Make Teacher Gift

Holiday Lights Tour

Holiday Market

Go Out For Breakfast

Make Popcorn Garland

Holiday Party

Donate Toys

Open Presents and Watch 24 Hours of A Christmas Story

Celebrate Our Blessings

IMG_0037

If you have any awesome activities that your family does I would love to hear about them! We’re always trying to find new ideas.

Ten Projects-Project #4

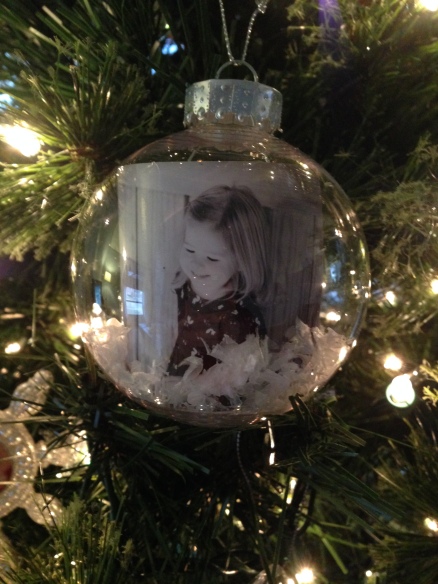
This project was so simple. I made two ornaments for our tree. I’ll say it again. So. Simple.

photo (29)


I’ve been meaning to do this for at least three years! Ha! I’m right on top of things. But, now that I’ve made two, I think I’ll be making a few more. I love them.

The first one I made is simply a photo of Harper and some fake snow. Very easy, but really pretty. (I already had two ornaments with photos of Hudson and none of Harper, so now she finally has one!)

FYI, ornaments are very hard to photograph without there being a ton of glare. Sorry about that.photo (28)photo (29)

(P.S. Do you see my curtains hanging up in the background? We finally got them up and can I just say that I’m smitten! I’ll post an update soon.)

The second one I made is just tiny pinecones that I found on the ground at a park and some more fake snow. I don’t think it can get any easier.photo (30)photo (31)


Have you guys been making ornaments? I have a bunch pinned to my holiday Pinterest board that I’d like to make.

I’ll be finishing up one of my big projects this weekend and working on the other. I love this time of year and all the creativity that seems to come along with it!

Ten Projects-Project #3

IMG_9874

I really wanted to add more see-through elements to my December Daily this year and knew I wanted to incorporate some shiny sequins.

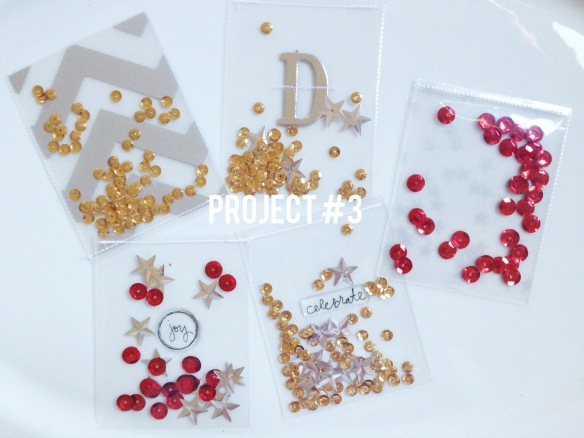
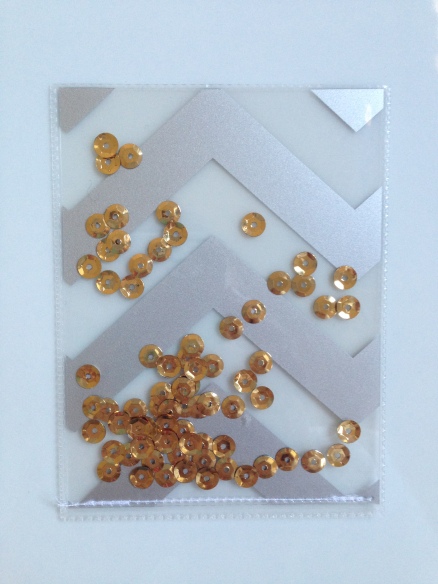
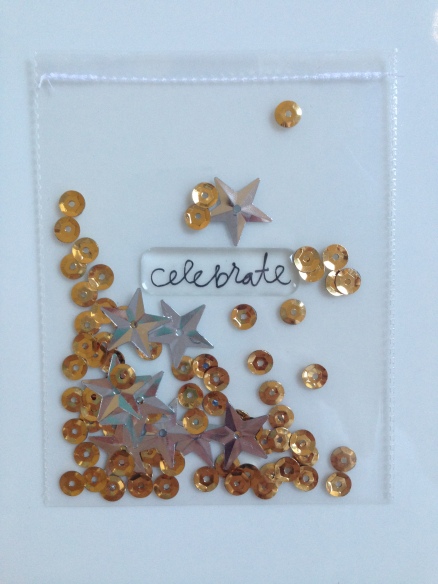
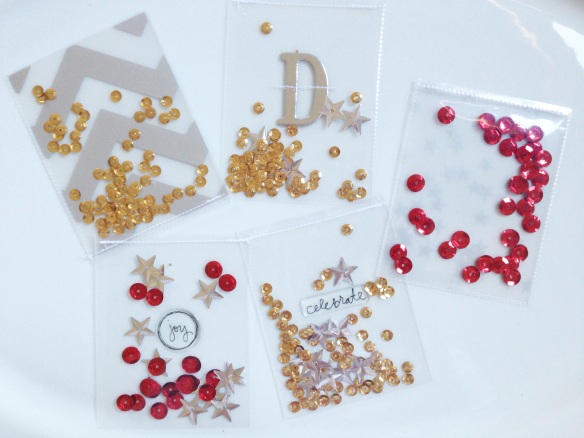
So, for project #3 I decided to make my own sequins pockets to insert into my pocket pages throughout my album. They were simple and very inexpensive to make.

Oh my do I love how they turned out! I’m super pumped to use them!

I picked up three packages of sequins at JoAnn yesterday along with a package of clear sentiment stickers that were 40% off. I used some overlays that I already had and a chipboard letter D from a set from Target. I cut up an old 9 pocket page that was damaged in one spot and used those pockets. Hudson helped me add the sequins and then I sewed the tops closed.

IMG_9851

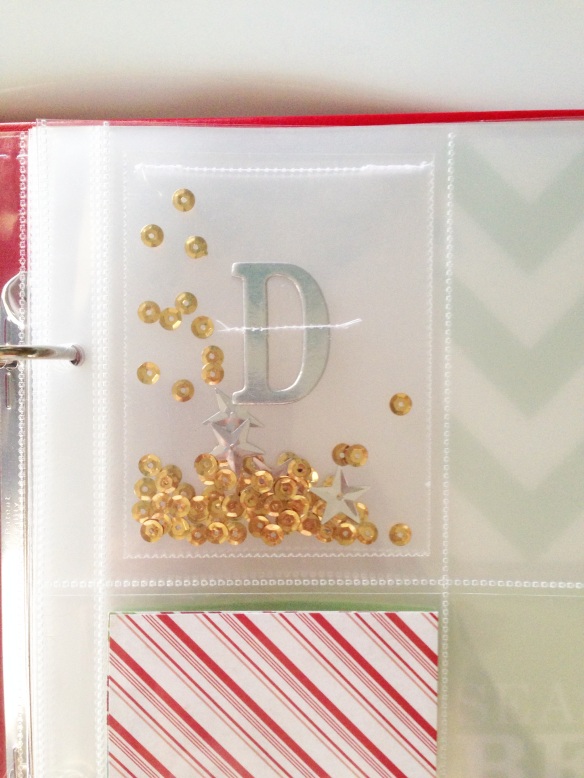
I ended up using this one and updating the first page of my December Daily. It originally just had the D slipped into the pocket, but I added the gold sequins and four silver stars to represent the four members of our family. Then to keep the D in place, I stitched it across the center. Much better!IMG_9852

Here is how it looks now.IMG_9875IMG_9871

IMG_9853

I’m planning to use this one as part of our holiday party spread. Love, love, love it! I think this one is my favorite.IMG_9855IMG_9857IMG_9863IMG_9869IMG_9873

IMG_9874

I decided to start with five pocket inserts, but have a feeling that I’ll like the look so much once they’re in my album that I’ll end up making more.

This was a fun little project.

Now on to the next! I’m hoping to make a holiday wreath this weekend and finish up a project that was started last December.

Have a great weekend!

**If you have any questions about the supplies I used, please leave them in the comments and I’ll be sure to answer them.**

Pumpkin Surprise Balls

Last weekend we traveled up to Sioux Falls to visit my parents for my dad’s 60th birthday. My sister and her family were going up too and I wanted to take a little Halloween treat for all the kiddos.

photo (21)

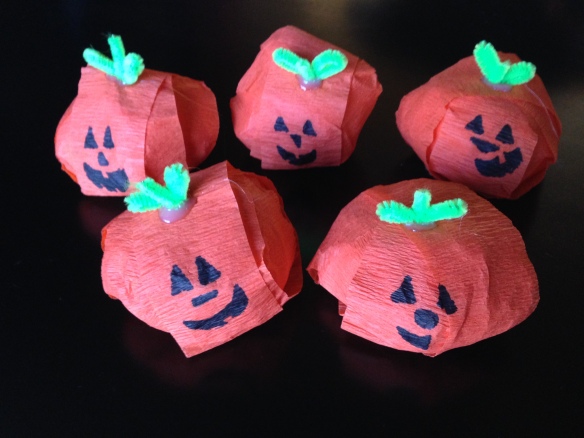
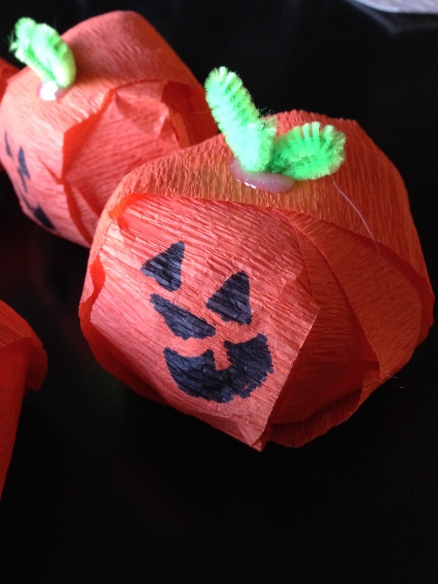
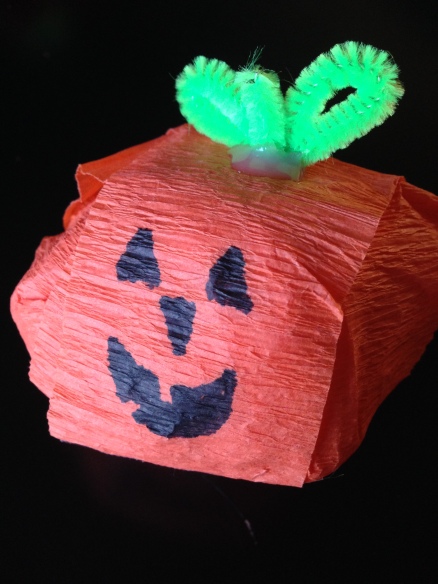
A while back, I came across a few ideas on Pinterest for surprise snowballs, which are little balls made of crate paper wrapped around small toys and goodies. (You wrap a toy at a time until they’re full and then tape the end.) I’ve wanted to make them since and decided to make jack-o-lanterns for Halloween.

I went to Party City for the crate paper and goodies. I found some fun little things in the party favors section. The toys can’t be too big or it won’t work, so find small things like bouncy balls. I bought tiny cameras that are like mini view finders, orange Sixlets, tiny animal erasers, some of those poppers that you flip upside down and they pop up, and teeny tiny notebooks. Sorry I didn’t get a photo of everything, but I was trying to make them in secret while my oldest was distracted and my youngest was napping.

All the kids loved them and my kids are still playing with all the little goodies!

photo (21) photo (24) photo (23) photo (22)


photo (27) photo (25)


I drew the face on after they were wrapped and hot glued the pipe cleaner stem on. Done.


Just a fun and cheap Halloween treat for the kiddos!

All About Them: Washi Tape Mummies

Today I want to share a cute, and very simple little craft that the kids and I did yesterday.

Washi Tape Mummies

photo (14)


I came across the idea here on Pinterest, but wanted to add my own spin. The original idea called for masking tape to wrap the mummies, but I thought it would be cute to use washi tape in Halloween colors instead. Plus, my kids love washi tape!

To make these cute little guys, I simply cut a person/gingerbread man shape out of white cardstock, and then I grabbed some googly eyes and my washi tape. The kids were able to decorate the mummies without much assistance. They loved this project. So did I. It couldn’t be easier and you’re left with a cute little keepsake that you can pack away with your Halloween decoration and pull out every year. They could even be made into magnets or framed!

Harper’s Mummyphoto (15)

Hudson’s Mummyphoto (17)

photo (16)

I think I might end up framing them when the kids are tired of playing with them.

If you make your own washi tape mummies, I would love to see them!

See you tomorrow!