Ten Projects-Project #10

Wow, am I glad it’s Friday?! It’s been a very long week around here. I was sick pretty much all week. Blah.

I didn’t cook a single meal.

I didn’t work on a single project.

I didn’t clean the house.

I didn’t run.

I hardly blogged.

I only got dressed to take Hudson to school.

I’m so happy to be feeling better today and thought I would finally share with you my tenth project from the 10 Projects before Christmas challenge.This post is long overdue. I actually did finished this before Christmas as it was a gift to my sister, but I completely forgot to take photos of them, so I had to have her send me some earlier this week.
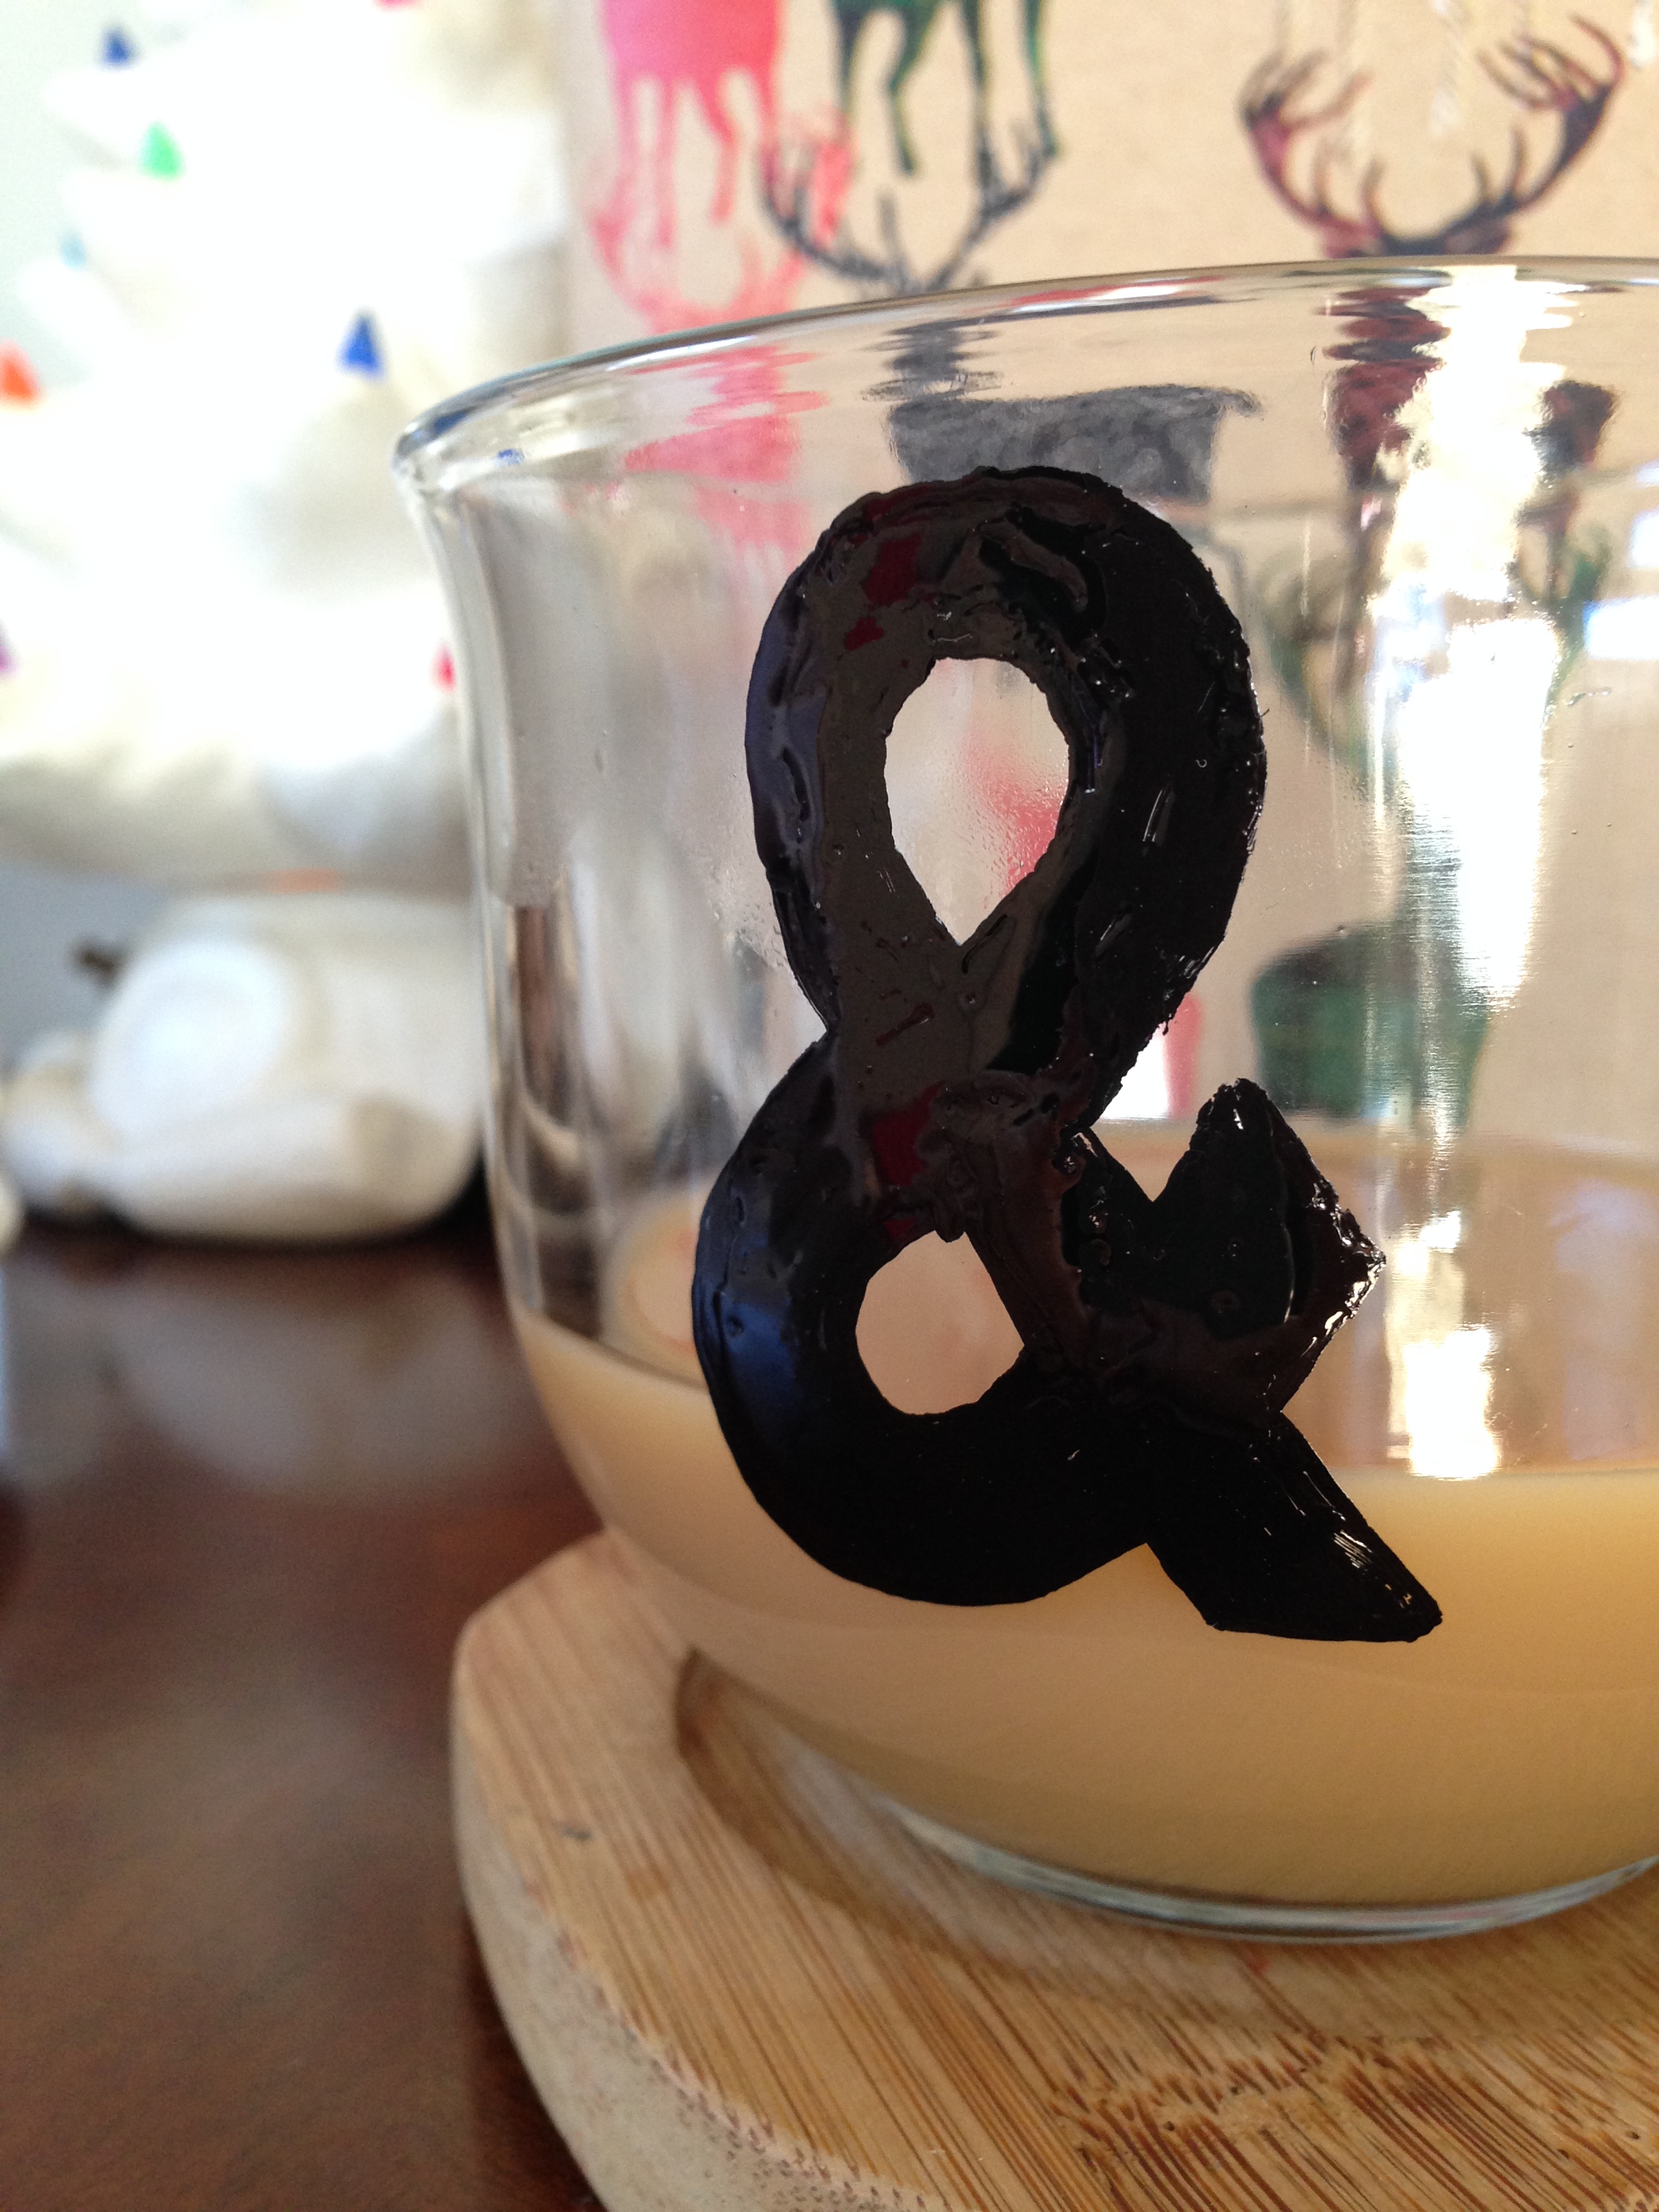
Project #10

photo (5) photo (6)


I found a few different tutorials for these tile coasters on Pinterest (just search “tile coasters”) and thought they were really cute. I used some of her Instagram photos and just followed the tutorials using Mod Podge and Dimensional Magic. They turned out pretty cute. I think I’ll probably end up making some for myself too.

Overall Thoughts on 10 Projects

* It was a fun challenge.

* It was the prefect amount of projects in the amount of time.

* It pushed me to finish projects that were taking way to long.

* It allowed me to use some products I’ve never used before.

* I loved that I did it right before Christmas so that I ended up making some handmade gifts (something I always say I want to do, but never get around to actually doing).

* Some of the projects took longer than projected, so I ended up making some quicker projects in the end just to meet my goal. That’s not really a bad thing, but I had some other projects that I didn’t get to because I knew I didn’t have the time.

Conclusion: Challenges are a great way to motivate myself. I definitely plan to do the same thing at least one time this year.

Have a great weekend!


Ten Projects-Project #9

I finally finished my BIG project! I’m so glad this one is behind me (whew!), but incredibly thrilled that I actually did it! And I couldn’t be happier with how they turned out!

IMG_0601

I was inspired by this amazing pillow by Amy at Nana Company that I came across on Pinterest over a year ago. It’s so beautiful! I had never quilted anything, but my mother-in-law is a quilter, so I thought I could attempt something similar with some help from her and this tutorial that I also found on Pinterest.

They are far from perfect and look nothing like Amy’s, but I’m really proud of them! And best of all, the kids love them!

IMG_0586 IMG_0591

My original plan was to make them pillow cases, but once I started, I realized that would be a little more difficult than I thought I could manage. I’ve sewn a pillow before, so I figured I would do that instead.

IMG_0598 IMG_0600 IMG_0603

I can tell them apart by one patch on each one. Hudson’s has a Santa patch in the center.IMG_0604

And Harper’s has a Mrs. Claus patch in the center.IMG_0607

I plan on hand embroidering their initials on the backs of the pillows. I still have to look up how to do it!IMG_0609IMG_0610

I’m so happy to be able to add these pillows to our holiday decor and hope that the kids can enjoy them for years to come!

Hooray!!

Sharing here:

Under The Table And Dreaming

Ten Projects-Project #8

Today’s project is a really easy and affordable gift idea. I came across this tutorial from Design Mom on Pinterest and thought these were totally adorable and knew I had to make them as little Christmas gifts.

Pom Pom Bookmarks

Totally cute, right?!

photo


photo (1) photo (2) photo (3)


They are SO easy to make that I’m actually headed to JoAnn today to buy some different colors of yarn to make more! Obsessed!

This project was free for me to make because I already had the yarn. You can’t beat free and super cute!

P.S. I’m actually done with all of my Ten Projects (hooray!), but need write the posts for the last two. Things have been really busy around here with lots of holiday happenings and December Daily spreads, but it’s been an awesome season so far!

Ten Projects-Project #7

I made a garland out of found pinecones and baker’s twine for project #7. I wanted something to hang in front of the window in our kitchen and this was the perfect solution.

DSC_0091

All I did was tie a double knot in the twine at the top of the pinecones and then to hang them I tied a loop and hooked them over some hooks that we already had.

This project was totally free. I found the pinecones and I bought the baker’s twine two years ago at Michael’s. I believe it’s Martha Stewart. Done and done.

DSC_0093 DSC_0100 DSC_0101 DSC_0102 DSC_0103 DSC_0104

Hooray for free crafts!!

See you tomorrow with a December Daily update!

Ten Projects-Project #6

I finally got around to making my sixth project yesterday. This one was super easy and cheap!

photo (34)

My inspiration for this project came from Pinterest, of course. There are a ton of different tutorials and design ideas on there.

I bought two clear glass coffee mugs at The Dollar Tree over a month ago because I loved their shape. I originally wanted to use white mugs, but I didn’t like the ones they had. I planned to paint my mugs, either to keep for myself or to give as a gift.

I used a black Sharpie paint pen and drew (freehand) an ampersand onto the mug. The Sharpie website said it works on glass and it would be water-resistant. After letting it dry overnight, I hand washed it with soap and water this morning and it was fine. I think I’ll stick to hand washing instead of the dishwasher, just in case.

I really like how it turned out, although I wish it wasn’t so glossy. It looks a little too much like puffy paint in the photos. I ran out of paint before I could make the second mug, so I think I will look for a metallic gold paint pen for the next one. I think gold would be so awesome! I’ll either do another ampersand or buy another mug and paint the words “me” on one and “you” on the other.

photo (33) photo (35)


This is a very inexpensive gift idea. It would be great for a coffee or tea lover!

Total cost for me was $1.00 because I already had the paint pen. If you buy the pen I think it costs around $6-$7, but you could use a Michael’s or JoAnn coupon and get it for less.

Cheers!

Ten Projects-Project #5

I’m SO excited to share this project with you today!! This has been two years in the  making. It’s our advent calendar and I’m in love!

IMG_0043

I made the envelopes two years ago (and displayed them in a apothecary jar) and decided last year that I wanted a wooden tree to hang them on, but we never got around to making it. We bought the wood, cut the trunk piece and I painted it white, but that’s as far as I got.

But it’s finally finished and in time for the holiday season no less!

It was actually really easy to make, so I’m not sure why it took so long. It’s my new favorite holiday decoration.

IMG_0036

IMG_0037 IMG_0041 IMG_0044 IMG_0045 IMG_0046 IMG_0047 IMG_0048 IMG_0049 IMG_0050

IMG_0038 IMG_0039

IMG_0034

The photos don’t to it justice! The little envelopes are so cute. I made them with one piece of scrapbook paper that I got at Archiver’s. I cut it up and added some baker’s twine.

I think the tree idea is perfect. If, or should I say when I get tired of the envelopes, I can always add something different to the tree for the calendar such as small boxes, cute little bags, etc.

This was one of the big projects and boy am I glad to cross this off the list! Do you do an advent calendar? We have activities on all the inserts and the kids just love finding out what each day holds.

Tomorrow I’ll post a list of all our activities and show you how we made our cards this year.

Linked up here:

Tatertots and Jello

The Idea Room

Ten Projects-Project #4

This project was so simple. I made two ornaments for our tree. I’ll say it again. So. Simple.

photo (29)


I’ve been meaning to do this for at least three years! Ha! I’m right on top of things. But, now that I’ve made two, I think I’ll be making a few more. I love them.

The first one I made is simply a photo of Harper and some fake snow. Very easy, but really pretty. (I already had two ornaments with photos of Hudson and none of Harper, so now she finally has one!)

FYI, ornaments are very hard to photograph without there being a ton of glare. Sorry about that.photo (28)photo (29)

(P.S. Do you see my curtains hanging up in the background? We finally got them up and can I just say that I’m smitten! I’ll post an update soon.)

The second one I made is just tiny pinecones that I found on the ground at a park and some more fake snow. I don’t think it can get any easier.photo (30)photo (31)


Have you guys been making ornaments? I have a bunch pinned to my holiday Pinterest board that I’d like to make.

I’ll be finishing up one of my big projects this weekend and working on the other. I love this time of year and all the creativity that seems to come along with it!

Ten Projects-Project #3

IMG_9874

I really wanted to add more see-through elements to my December Daily this year and knew I wanted to incorporate some shiny sequins.

So, for project #3 I decided to make my own sequins pockets to insert into my pocket pages throughout my album. They were simple and very inexpensive to make.

Oh my do I love how they turned out! I’m super pumped to use them!

I picked up three packages of sequins at JoAnn yesterday along with a package of clear sentiment stickers that were 40% off. I used some overlays that I already had and a chipboard letter D from a set from Target. I cut up an old 9 pocket page that was damaged in one spot and used those pockets. Hudson helped me add the sequins and then I sewed the tops closed.

IMG_9851

I ended up using this one and updating the first page of my December Daily. It originally just had the D slipped into the pocket, but I added the gold sequins and four silver stars to represent the four members of our family. Then to keep the D in place, I stitched it across the center. Much better!IMG_9852

Here is how it looks now.IMG_9875IMG_9871

IMG_9853

I’m planning to use this one as part of our holiday party spread. Love, love, love it! I think this one is my favorite.IMG_9855IMG_9857IMG_9863IMG_9869IMG_9873

IMG_9874

I decided to start with five pocket inserts, but have a feeling that I’ll like the look so much once they’re in my album that I’ll end up making more.

This was a fun little project.

Now on to the next! I’m hoping to make a holiday wreath this weekend and finish up a project that was started last December.

Have a great weekend!

**If you have any questions about the supplies I used, please leave them in the comments and I’ll be sure to answer them.**

Ten Projects-Project #2

photo (19)

I fell in love with this project from http://www.ellaclaireinspired.com after a friend sent me the pin on Pinterest.

DSC_0230

You can find the original by clicking here.

As you already know, I love, love, love fall and this sign sums it up perfectly. After I pinned it to my holiday inspiration board, I quickly went to check out the website and discovered that she posted a template for the words! So awesome!

This is my version of her project. I pretty much duplicated what she had done. I mean, it’s so cute how could I possibly make it any better?! I used my own colors of course and mine isn’t nearly as fancy or as cute, but I’m super satisfied with the outcome! Plus, it turned out to be completely free. I used an old junkie piece of plywood and paint that I had on hand.

I haven’t decided on a place to display it yet, hence the photos taken out in the leaves. But as soon as our living room is pulled back together after the painting is completed, I’m sure I’ll find just the right spot!

photo (18)

photo (19) photo (20)

photo (18)-001

Project #2 is complete. I’m still working on the other project and have another planned for this weekend. Yay! I love handmade projects!

Hello October

I’m so happy to welcome back October! It’s definitely one of my favorite months. I’m feeling very crafty (and motivated) lately and seem to keep adding to my never-ending project list. I feel a little behind due to last weeks sudden loss and trip to Dallas, but I think I can get back on track this week.

My next project involves giant pictures. I’m hoping to finish by tomorrow, as well as, start painting my living room. Can you believe my husband didn’t get it painted while I was gone?! It’s not like he didn’t have time, what with working and taking care of two kids. I kid! I kid!

I’d also like to get going on another project and I’m still working on one that’s more time-consuming. I guess I’ll be very busy.

I just love this time of year!

DSC_1197

**Don’t forget, I’m trying to complete Ten Projects by Christmas. Some of the projects are simple and some are more time-consuming. Some are holiday and seasonal and others are home projects. I’d love it if you’d join in the fun with me, and if you do, please post links to your projects in the comments! You can read a little more about Ten Projects here.

See you tomorrow!